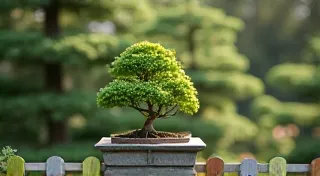
Sumie Brush Techniques for Beginners: Loading Ink and Basic Strokes
Welcome to the beautiful world of Sumie painting! This guide will focus on the very foundations of the art: how to properly load your brush and execute some of the most fundamental strokes. Mastering these basics is crucial for any aspiring Sumie artist. We’ll cover the "three treasures" – ink, paper, and brush – and introduce some essential techniques. Let's begin!
The "Three Treasures" & Their Importance
Sumie, or Japanese ink painting, revolves around three core elements: the ink stone (suzuri), ink stick (sumi), and brush (fude). The quality and care of each significantly impact the final artwork.
- Ink (Sumi): Traditional Sumie utilizes solid ink sticks, which are ground with water on an ink stone to create ink. The fineness of the ink particles influences the depth and richness of the painting.
- Paper (Washi): The absorbency of the paper dictates how the ink spreads and bleeds. Different paper textures create distinct effects.
- Brush (Fude): Sumie brushes are typically made from animal hair (goat, wolf, or a blend). Each hair type offers a different level of control and ink retention.
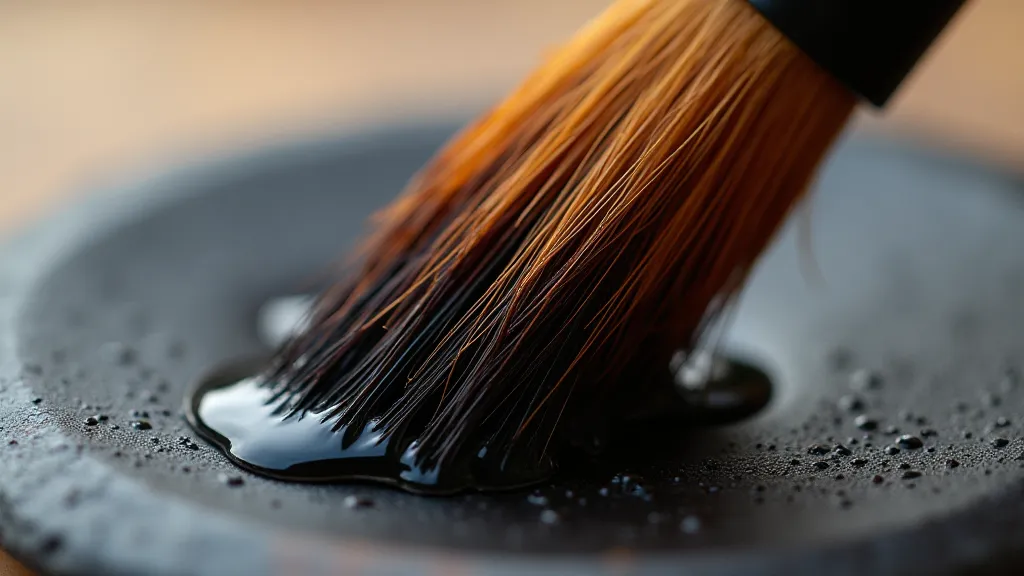
Loading the Brush: A Step-by-Step Guide
Proper ink loading is more than just dipping the brush in water; it’s about achieving the desired ink saturation and distribution. Here's a breakdown:
- Prepare Your Ink: Use your ink stone and ink stick. Gently grind the stick with water to create the desired ink density. The more you grind, the darker the ink. Experiment to find what you like.
- Initial Dip: Hold the brush vertically, with the bristles facing down. Dip the tip of the brush into the ink. Avoid submerging the entire brush.
- The “Three Points” – A Key Technique: This is vital for even ink distribution.
- Point 1 (Tip): Gently tap the brush tip on the ink stone to remove excess ink.
- Point 1 (Bristles): Twist the brush slightly to distribute the ink evenly through the bristles.
- Point 1 (Base): Gently press the base of the bristles against the ink stone to ensure the ink has permeated the entire brush.
- Check Ink Saturation: Before applying to paper, test the brush on a scrap piece of paper. This ensures the ink is evenly distributed and the desired tone is achieved.
Essential Sumie Strokes – Your Starting Point
Now that you’re comfortable loading your brush, let’s explore some foundational strokes.
1. The Vertical Line (Tate-biki)
The vertical line is the backbone of many Sumie paintings. It establishes height and structure.
- Starting Point: Position the brush tip on the upper edge of the paper.
- Pressure: Apply gentle, even pressure as you draw the brush downwards.
- Release: Slowly release pressure as you reach the bottom of the paper.
- Practice Tip: Experiment with varying the pressure to create thicker or thinner lines.

2. The Dot (Ten)
The humble dot is deceptively powerful. It can represent anything from a single raindrop to a distant mountain.
- Placement: Position the brush tip on the paper.
- Quick Release: Apply a small amount of pressure and quickly release the brush, lifting it straight up.
- Varying Size: Adjust the amount of ink on the brush and the pressure applied to create dots of different sizes.
3. Other Basic Strokes
Once you've mastered these two, experiment with similar strokes such as horizontal lines, broken lines, and subtle curves. Remember, practice is key!

Conclusion
These fundamental techniques are the cornerstones of Sumie painting. Don't be discouraged if your initial attempts aren't perfect. With consistent practice and a patient hand, you’re well on your way to creating beautiful Sumie artwork!