Painting a Simple Waterfall in Sumie: Movement and Flow
Capturing the essence of a waterfall in Sumie painting can seem daunting, but with a solid understanding of fundamental techniques and a focus on conveying movement, even beginners can achieve beautiful results. This guide breaks down the process step-by-step, focusing on the crucial elements of flow, spray, and reflections.
Understanding the Core Principles: Movement in Sumie
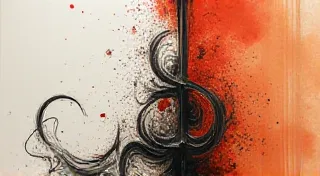
Sumie, at its heart, is about capturing the *feeling* of a subject, not just a literal representation. For a waterfall, this means emphasizing the dynamic energy of the cascading water. Think about how water moves: a constant rush, a swirling chaos, and a sense of relentless progression.
The key tools to achieve this are:
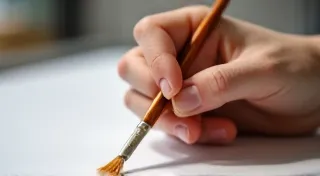
- Brush Control: Varying the pressure and angle of your brush will create different textures, from thick, dark masses to thin, flowing lines.
- Ink Wash Variations: Employing a range of ink dilutions – from deep black to watery grey – allows you to depict depth and movement.
- Negative Space: The areas *around* the water are just as important. They define the form and contribute to the sense of space and motion.
Materials Needed
- Japanese Sumi Ink
- Japanese Brush (medium size is a good starting point)
- Sumie Paper (or absorbent paper)
- Water Container
- Paper Towels (for blotting)
Step-by-Step Guide to Painting a Simple Waterfall
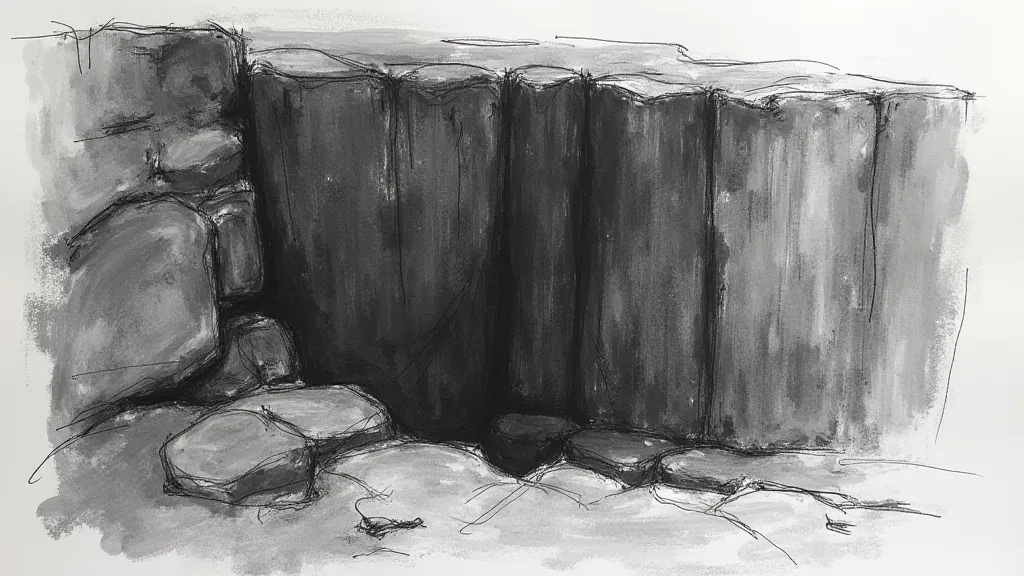
Step 1: Establishing the Rocks – The Foundation
Begin by sketching the outline of the rocks that form the waterfall’s structure. Use a lighter ink wash (more water, less ink) for this initial sketch. Don't be overly precise; Sumie is about suggestion, not detailed realism.
Step 2: Creating the Main Body of Water
Now, using a slightly darker ink wash, begin to render the main body of water. Apply the ink in broad, flowing strokes, following the natural direction of the cascade. Think about where the water is thickest and thinnest. Allow some areas to remain lighter, suggesting foam and movement. Don't be afraid to leave gaps—these create the illusion of cascading water.
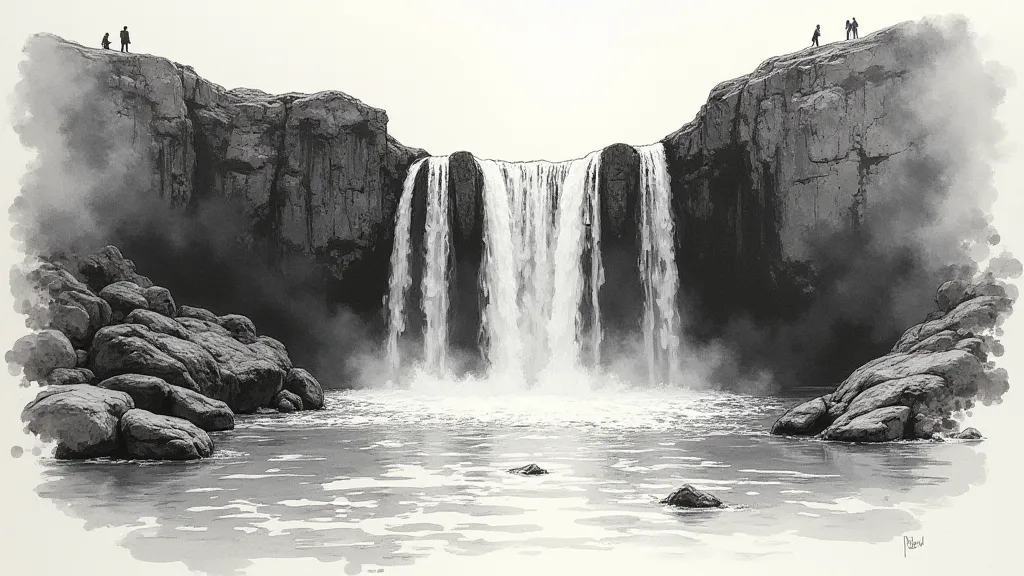
Step 3: Adding Spray and Foam
The dynamic nature of a waterfall is enhanced by the spray and foam. Use a very diluted ink wash (almost water) and flick the brush gently to create these details. Focus on areas where the water hits rocks or splatters into the air. These small details add a lot of life to the painting.
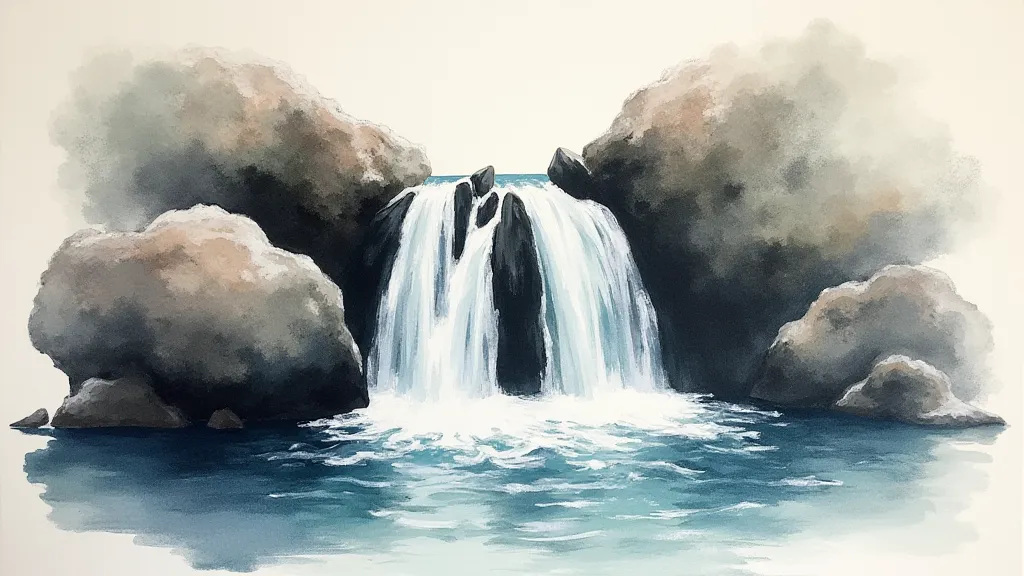
Step 4: Rendering Reflections (Optional)
Reflections add depth and realism to your painting. Using a lighter ink wash, subtly render the reflection of the water in the pool at the base of the waterfall. Remember that reflections are often blurred and distorted – don't try to recreate a perfect mirror image.
Step 5: Final Touches and Adjustment
Step back and observe your painting. Are there any areas that seem too dark or too light? Use a damp brush to soften harsh lines, and add more ink where needed to create contrast. Remember, the beauty of Sumie lies in its simplicity and spontaneity.
Tips for Success
- Practice Brushstrokes: Before tackling a full waterfall, practice simple strokes like lines, dots, and washes.
- Embrace Imperfection: Sumie is not about perfection. Allow for spontaneous marks and embrace the beauty of imperfection.
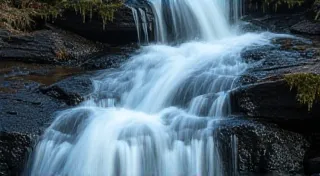
- Observe Waterfalls: If possible, spend time observing waterfalls in person or through photographs. Pay attention to how the water moves and how the light interacts with it.
Conclusion
Painting a waterfall in Sumie is a rewarding challenge. By understanding the principles of movement and flow, and practicing your brushstrokes, you can create a beautiful and expressive representation of this powerful natural phenomenon.