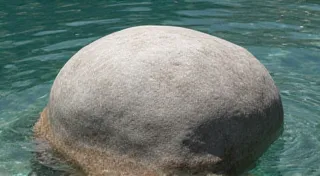
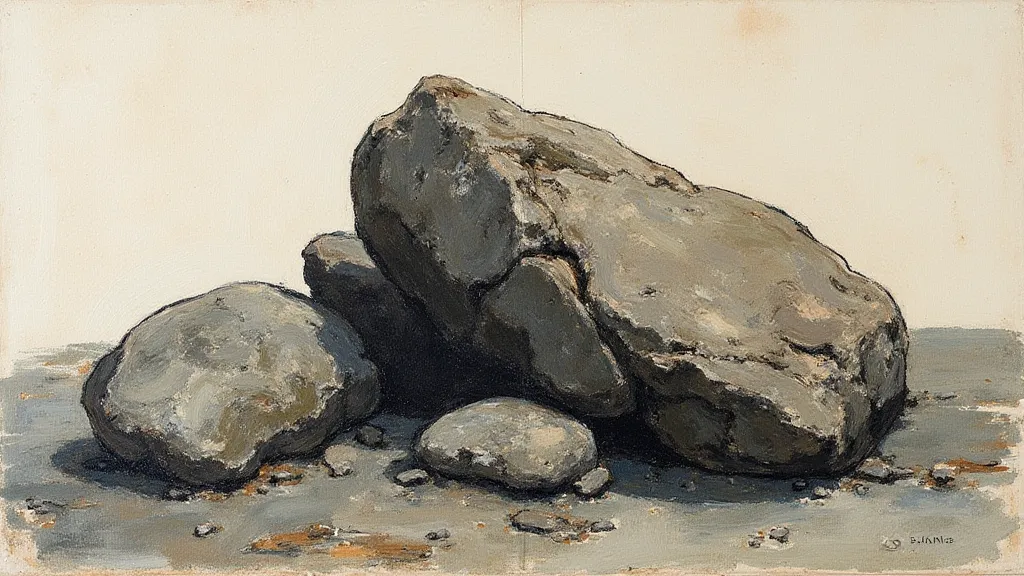
Painting a Simple Rock in Sumie: Shape and Texture
Welcome! This guide will walk you through painting a simple rock in Sumie, focusing on capturing its form and texture. Even for beginners, portraying the feeling of weight and roughness in a rock can be remarkably satisfying. Sumie emphasizes suggestion rather than photographic realism, so we'll focus on conveying the essence of the rock through brushstrokes and ink washes.
Understanding the Basics
Before we start, remember the core principles of Sumie: simplicity, spontaneity, and the power of negative space. The "negative space" – the empty areas around the rock – are just as important as the rock itself. They help define its shape and create depth.
Materials You'll Need
- Ink Stone: For grinding your ink.
- Water: Clean, filtered water.
- Japanese Brush (Sumiboshi): A medium-sized brush is suitable for this exercise.
- Washi Paper (Japanese Paper): A sheet of good quality washi paper is essential.
- Ink (Sumi): Sumi ink powder is best, but bottled ink can be used as a starting point.
Step-by-Step Guide
Step 1: Sketching the Outline
Lightly sketch the basic shape of the rock. Don’t worry about perfect accuracy at this stage. Think about the rock’s overall form – is it tall and slender, or wide and squat? A slightly asymmetrical shape will make it look more natural. Use a very diluted ink for this initial sketch.

Step 2: Establishing the Light and Shadow
Observe where the light is falling on the rock. This will dictate where the shadows are. Imagine a single light source. Lightly apply slightly darker ink to the shaded areas. This isn't a hard line – blend it gradually into the lighter areas.
Step 3: Building Texture with Dry Brush
This is where the texture begins to come alive. Dip your brush in ink, but then wipe off most of it onto a paper towel or cloth. This creates a “dry brush” effect. Use short, broken strokes to suggest the roughness of the rock’s surface. Vary the pressure on the brush to create different effects – lighter strokes for areas that are more exposed to light, and heavier strokes for deeper shadows.
Step 4: Adding Depth with Washes
Apply diluted ink washes over parts of the rock to create a sense of depth. Areas that are further away will receive lighter washes, while areas closer to the viewer will have darker ones. Layer the washes gradually, allowing each layer to dry before applying the next. This creates a richer, more nuanced effect.
Step 5: Refining the Details (Optional)
Once the washes are dry, you can add finer details, such as small cracks or moss growing on the rock. However, remember that less is often more in Sumie. Resist the temptation to overwork the painting. Allow the negative space to breathe and the ink to speak for itself.
Step 6: Observing and Adjusting
Step back from your painting and observe it as a whole. What feels right? What needs adjusting? Don't be afraid to make changes, but always strive for simplicity and elegance.
Tips for Beginners
- Practice your brushstrokes: Before attempting a full painting, practice making different kinds of brushstrokes on scrap paper.
- Don't be afraid to experiment: There are no hard and fast rules in Sumie. Try different techniques and see what works best for you.
- Embrace imperfections: Imperfections are part of the beauty of Sumie. Don't strive for perfection – strive for authenticity.
- Observe nature: Pay attention to the shapes, textures, and lighting of rocks in the real world.
Enjoy the process of learning and creating!